When it comes to ensuring data resilience and disaster recovery readiness, one of the first (and most important) steps is setting up a reliable backup repository. In this installment of our Back to Basics series, Steven New—Director of Business Continuity and Disaster Recovery at Dataprise and a Veeam Vanguard—walks through how to create a standard repository using Veeam Backup & Replication.
Whether you’re new to Veeam or just need a quick refresher, this guide breaks down the process in a way that’s easy to follow, even for those spinning up a lab or working with community edition installations.
Step 1: Launch Veeam and Update Components
After installing Veeam Backup & Replication, the software prompts you to update essential components like:
- Installer service
- Mount service
- Transport service
- Agent distributions
If you’re running an all-in-one Veeam server (which includes the proxy and repository on the same system), you can select all components and apply the updates in one go.
Pro Tip: If your environment includes multiple Veeam components across different servers, you’ll need to update them manually.
Step 2: Create a Backup Folder
Before configuring the repository, create a designated folder to store your backups. In Steven’s demo, he used the E: drive and created a folder simply called VEEAM. This becomes the target path for your backup files.
Step 3: Add a New Backup Repository
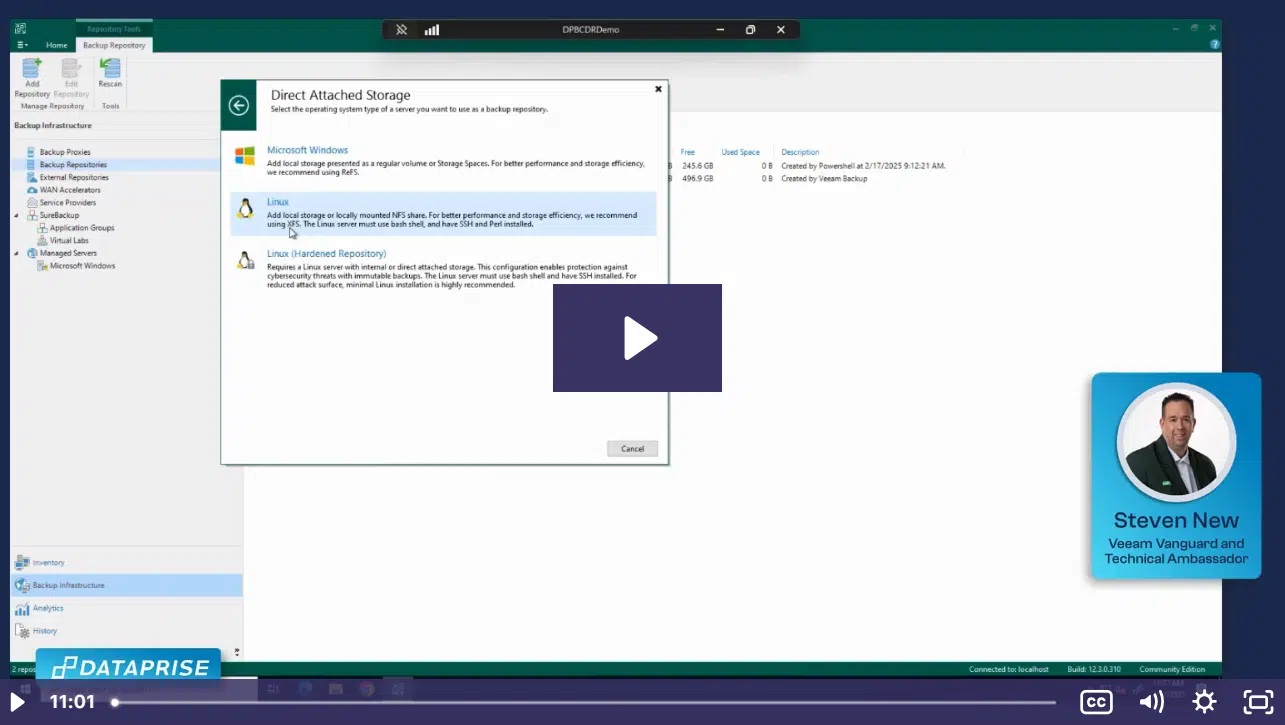
Navigate to the Backup Infrastructure section in the Veeam console and click on Backup Repositories. From there, add a new repository and choose from several storage types:
- Direct attached storage (used in this demo)
- Network-attached (SMB/CIFS)
- Deduplication appliances (e.g., Dell Data Domain, HPE StoreOnce)
- Object storage, including Veeam Data Cloud Vault, a storage-as-a-service option with built-in immutability and air-gapping
For this walk-through, Steven used Direct Attached Storage on a Microsoft Windows server.
Step 4: Configure Repository Settings
Once you’ve named your repository (e.g., “Veeam Test”), you’ll:
- Choose your local server (no need to add a remote one if you’re using the all-in-one model)
- Populate disk information to identify where you have the most free space
- Browse to the backup folder you created (e.g., E:\Veeam)
You’ll also see options to:
- Limit maximum concurrent tasks (e.g., how many VMs can be backed up at once)
- Throttle read/write speeds (optional and usually unnecessary in smaller environments)
Under Advanced Settings, be sure to:
- Align backup data blocks (checked by default)
- Use per-VM backup files (also recommended)
- Skip rotating hard drive options unless applicable
Step 5: Finalize the Setup
Before finishing, you’ll select your mount server—usually the same server unless you have a more complex environment—and enable the PowerNFS service if you plan to use Instant Recovery for VMware.
You also have the option to scan the repository for existing backup files, which is helpful if you’re reconnecting to a previously used location.
After applying the configuration, Veeam registers the repository and completes the setup.
What’s Next?
With your repository in place, you’re ready to start creating backup jobs. This foundational setup is critical to ensure your backup data is stored reliably and ready for fast recovery when needed.
Watch the Full Video Tutorial Below

Steven New is the Director of Business Continuity and Disaster Recovery at Dataprise. As a Veeam Vanguard and Veeam Technical Ambassador for certified service providers, Steven brings deep expertise in data protection and disaster recovery strategy. He is passionate about helping organizations optimize their Veeam environments and build resilient IT infrastructures.