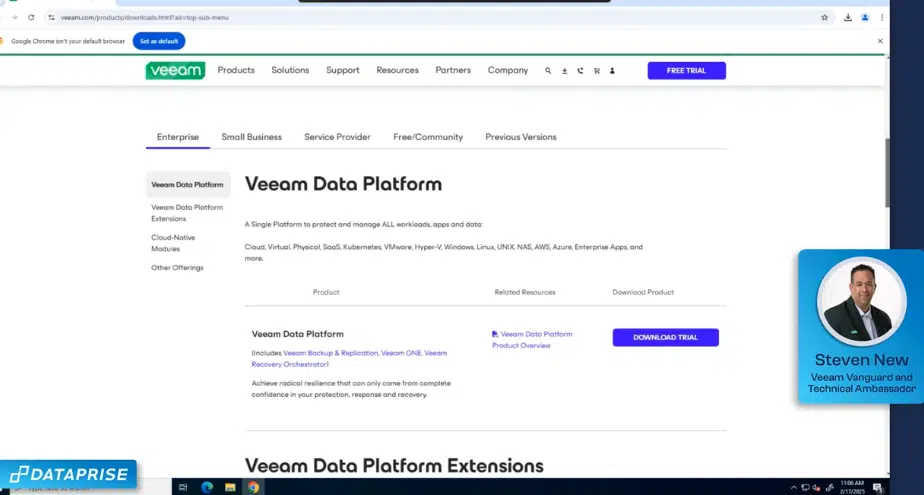
If you’ve ever felt overwhelmed trying to set up your Veeam environment, you’re not alone. That’s why Steven New, Dataprise’s Director of Business Continuity and Disaster Recovery, is kicking off our Back to Basics series.
In this first video, Steven walks you through installing Veeam Backup & Replication, version 12.3. Whether you’re setting it up in a lab or deploying it in a production environment, this step-by-step guide is designed to make the process approachable for beginners.
Step 1: Download the Installer
Start by visiting www.veeam.com and clicking on the Downloads tab.
- Scroll down to Veeam Data Platform and select Backup & Replication.
- Choose the current version (12.3 as of this writing) or access older versions under the Previous Versions tab.
- Accept the license agreement and log in to begin the download.
Tip: If you’re on a shared system, leave the “keep me logged in” box unchecked for security reasons.
Step 2: Mount and Launch the Installer
After downloading:
- Right-click the
.isofile and mount it as a virtual DVD drive. - Open the new drive, right-click Setup.exe, and select Run as Administrator to avoid permission issues.
Choose Install Veeam Backup & Replication when prompted.
You’ll also see:
- Enterprise Manager for managing multiple backup servers
- Console for remote access to Veeam installations
These will be covered in future videos.
Step 3: Choose Edition and Run the Configuration Check
Once the setup wizard starts, accept the license agreements. Choose whether to install the Community Edition (free) or upload a license file if you have one.
Veeam will run a system configuration check to verify that all necessary components are in place. If any are missing, it will prompt you to install them.
Step 4: Customize Your SQL Configuration
Veeam now defaults to PostgreSQL for new installs. If you’ve previously used Microsoft SQL Express, you can choose between:
- PostgreSQL, which is more scalable and ideal for larger environments
- SQL Express, which has a 10GB database size limit
If you expect your backup database to grow beyond 10GB, PostgreSQL is the better choice.
You can also specify:
- Windows authentication (recommended for most environments)
- SQL Server authentication using an SA login and password
Step 5: Finalize Setup and Install
After configuring your database:
- Accept any prompts to upgrade existing databases to the latest version
- Address any warnings, such as the ThreatHunter service setup, by reviewing linked knowledge base articles
- Confirm default installation paths, including guest file catalog and vPower cache folder
- Ensure network ports are allowed if your firewall has restrictions
Once everything is confirmed, click Install to begin the process. Veeam will install the selected components and services, and then automatically launch the Veeam console.
You’re Ready to Go
Once installed, you’re ready to move on to the next steps: creating a repository, configuring proxies, and running your first backup jobs.
Watch the Full Video Tutorial
Need help architecting a high-performance Veeam deployment?
Dataprise is a Veeam Certified Service Provider with deep experience in backup, recovery, and business continuity strategies. Let us help you build an environment that scales with your business.

Steven New is the Director of Business Continuity and Disaster Recovery at Dataprise. As a Veeam Vanguard and Veeam Technical Ambassador for certified service providers, Steven brings deep expertise in data protection and disaster recovery strategy. He is passionate about helping organizations optimize their Veeam environments and build resilient IT infrastructures.